What's inside
As an Amazon Associate I earn from qualifying purchases. This post may contain affiliate links at no extra cost to you.
Sections
Our Top Picks
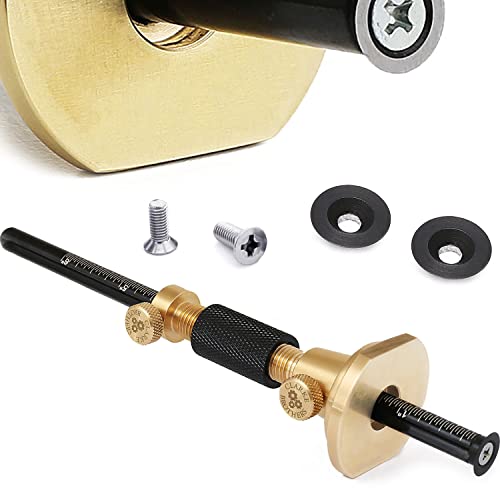
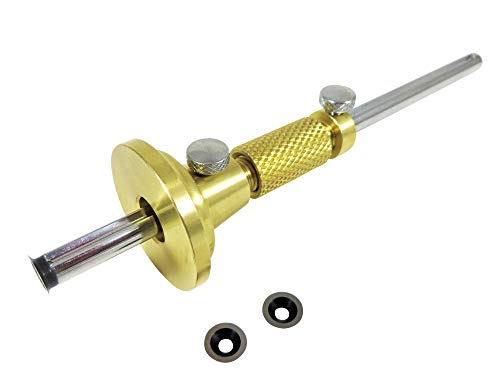
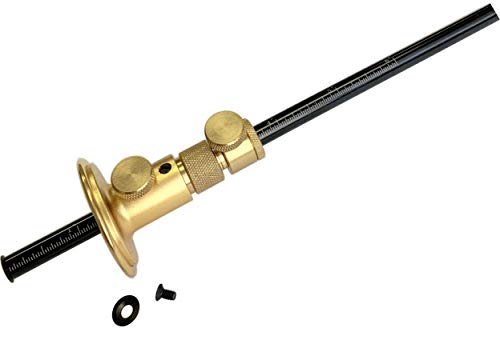
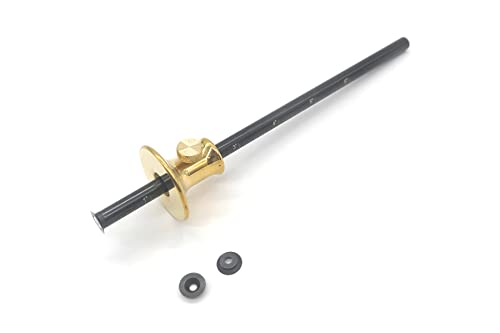
What each gauge is for
A marking gauge sets a line parallel to an edge. You set the fence against the board’s edge, lock the stem, then run the tool along the work. A pencil gauge carries a pencil or lead point; a knife gauge uses a sharpened steel blade. Both can mark out a shoulder, a groove, or the edge of a rebate. The difference is the line they leave—and how that line behaves when you cut to it.
For general site carpentry, a pencil gauge is quick and easy to read. For close-fitting joinery, a knife gauge gives a finer, more definite reference. Neither is automatically better: the right choice depends on the work, the material, and whether the line needs to guide a saw or a chisel.
As an Amazon Associate we earn from qualifying purchases at no extra cost to you.
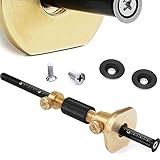

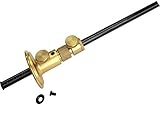

Pencil gauge vs knife gauge
| Factor | Pencil marking gauge | Knife marking gauge |
|---|---|---|
| Line | Visible, relatively wide; width depends on lead and pressure | Fine incision with a clear edge for cutting to |
| Best use | Framing, general layout, rougher stock | Joinery, shoulders, veneer, and accurate chisel work |
| Material | Works well on most surfaces, including wood that may splinter under a knife | Works best with the grain; can tear across some grain or brittle surfaces |
| Speed | Fast to see and mark | May need a light first pass and careful blade orientation |
| Maintenance | Replace or sharpen lead; keep the point consistent | Keep the blade sharp and properly set |
| Risk | A broad line can hide small errors in alignment | A misplaced cut is harder to erase than a pencil mark |
When a pencil gauge is the better choice
Choose a pencil gauge when the line only needs to show where to cut, not physically register a chisel or saw. It is a practical site tool for repeat marks on studs, trim, sheet goods, and other work where speed and visibility matter more than a hairline. A thicker pencil line is easy to spot in poor light, and you can erase or plane it away if the layout changes.
It is also forgiving on soft or splinter-prone wood. A knife drawn across end grain or against difficult grain can lift fibers, especially if you press hard on the first pass. Pencil avoids that problem. The trade-off is line width: if the mark is 1 mm wide, you must decide which edge is the actual reference. For a fitting shoulder, that uncertainty can be enough to leave a joint proud or cut it undersize.
If you want one inexpensive gauge for rough and general site layout, a pencil marking gauge is a sensible starting point. Check that the pencil sits securely and that the fence does not rock against the work.
When a knife gauge earns its place
Use a knife gauge when accuracy depends on a crisp boundary. A knife line cuts wood fibers rather than laying graphite on top, so a sharp chisel can register against it. That is useful when marking a housing, tenon shoulder, or hinge recess, where a clean shoulder and controlled paring make a visible difference. The fine line also helps distinguish a mark from pencil smudges on dusty stock.
A knife gauge does not make the work accurate by itself. The fence still needs to sit flat and stay tight, and the blade must be sharp. A dull blade can crush fibers, wander, or follow the grain. On a long mark, take a light first pass, then deepen it with another pass rather than forcing the blade through the wood. For cross-grain marking, keep the bevel oriented so the blade is pushed toward the waste side; otherwise it can steer away from the intended line.
A basic knife marking gauge is worth considering if you regularly fit joinery by hand. For occasional rough layout, it may add maintenance without saving meaningful time.
Set the gauge carefully
Set the distance from fence to point using a rule or a known reference, then lock the stem firmly. Before marking the work, test the setting on an offcut. Even a small slip—say, 0.5 mm—can matter on a tight housing. If you need repeated marks, check the lock again after the first few pieces; some gauges shift when the stem is pushed hard against a board edge.
Keep the fence pressed flat to the same reference edge throughout the stroke. Hold the tool low enough to control it, and make one steady pass rather than scrubbing back and forth. On a knife gauge, start lightly and deepen the line only as needed. On a pencil gauge, use a consistent point and pressure so the line does not grow wider halfway along the board.
When cutting to a knife line, remove waste from the waste side and leave the line intact until the fit is checked. For a pencil line, decide in advance whether you are cutting to the near edge, center, or far edge. Mixing those conventions between parts is a common cause of joints that are slightly too tight or too loose.
What to look for before buying
For site use, prioritize a fence that is large enough to track reliably, a stem that locks without play, and a point that can be replaced or sharpened. A compact gauge is easier to carry, but a tiny fence is less stable on rough or narrow stock. If you often switch between pencil and knife marks, a combination gauge can reduce the number of tools in your belt, though the extra fittings are only useful if they remain secure and quick to change.
Do not pay for fine adjustment if you mostly mark framing and trim to a tape measure. A simple gauge is adequate for that work. If you are laying out hand-cut joints, a stable gauge with a sharp, well-held knife is more valuable than decorative fittings or a large range of accessories. Keep the blade covered in your tool bag; an exposed point can damage the gauge, other tools, or your hand.
A practical choice for site work
Buy a pencil gauge first if most of your marks are visible cut lines on general building stock. It is quick, easy to correct, and less demanding to maintain. Add a knife gauge when you start doing fitting work where the line itself needs to guide a chisel or define a precise shoulder.
If you can only carry one, choose based on the work you do most often—not the most exacting task you do once a month. A pencil gauge is the better everyday layout tool for many site carpenters. A knife gauge is the better specialist tool for repeatable, clean joinery. Used with a consistent reference edge and a sensible cutting plan, either can do its job well.