What's inside
As an Amazon Associate I earn from qualifying purchases. This post may contain affiliate links at no extra cost to you.
A tool belt that fights your dominant hand will slow every cut, mark, and fasten. Most pouches are built for right-handed carpenters by default, which means left-handed users often end up reaching across their body, fumbling for a tape, or carrying a nail in their teeth because the layout is backwards. Getting the layout right is not about buying a “left-handed belt” – it is about putting each pouch where your hands naturally go without looking.
As an Amazon Associate we earn from qualifying purchases at no extra cost to you.


Sections
Our Top Picks
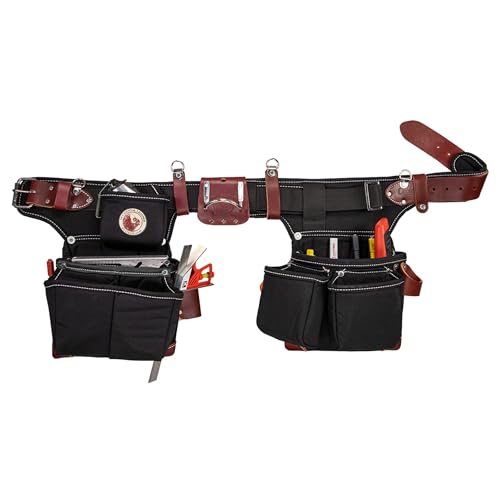 Occidental Leather Adjust-to-Fit OxyLight FramerAdjust-to-Fit – Right Hand14.5 x 14.4 x 4.4 inches4.15 PoundsCheck on Amazon
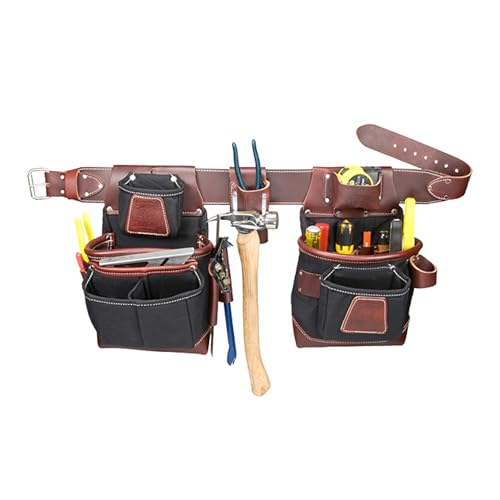
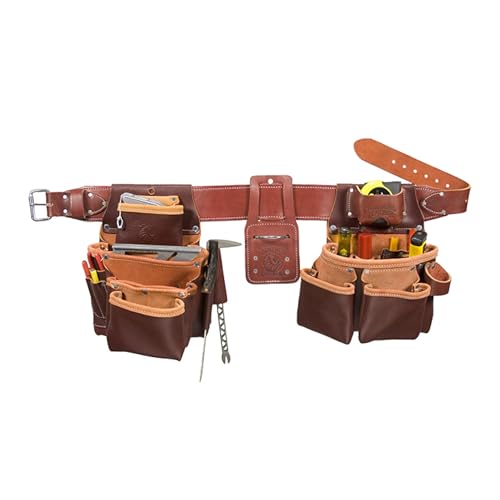
Why handedness affects speed and safety
Carpentry is a two-hand system: one hand stabilizes material or holds a square, the other drives, cuts, or marks. Your pouch layout should support that. If your tape, pencil, and utility knife are on your non-dominant side, you have to transfer tools hand-to-hand 30 to 50 times an hour. That adds fatigue and increases drops.
The other issue is blade and point control. Chisels, utility knives, and even sharp pencils should be drawn away from the body with the dominant hand, not pulled across your stomach with the off-hand. A wrong-side draw is how you slice a pouch or your forearm when you are in a hurry.
Failure mode to watch for: deep, floppy main pouches (over 10 inches deep) that let a 6-inch combination square or chisel sink out of reach. You end up fishing with two fingers while balancing on a joist. Look for main pouches 8 to 9 inches deep with reinforced mouths that stay open.
The core rule: dominant hand draws, off-hand holds
Set up your belt around this principle:
Dominant side = cutting, striking, and marking tools. Hammer, utility knife, chisel, block plane if you carry one, pencils, and chalk line. These are tools you pull, use, and return dozens of times a day without looking.
Non-dominant side = measuring, layout, and fasteners. Tape measure, 12-inch combination square, speed square, and nail/screw pouch. Your off-hand grabs the tape or square, holds it to the work, while the dominant hand marks.
Hammer loop or holster always goes on the dominant side, butted just behind the hip bone. If it rides directly on the hip, the hammer handle jabs your elbow when you bend. If it rides too far back, you twist your spine to grab it.
| Tool / Pouch | Right-Handed Carpenter | Left-Handed Carpenter |
|---|---|---|
| Hammer loop / holster | Right hip, just behind point of hip | Left hip, just behind point of hip |
| Main tool pouch (knife, chisels, pencils, driver) | Right side, in front of hip | Left side, in front of hip |
| Tape measure holder | Left side, dedicated clip or pouch | Right side, dedicated clip or pouch |
| Layout tools (speed square, combo square) | Left rear pouch or left-side sleeve | Right rear pouch or right-side sleeve |
| Fastener pouch (nails, screws) | Left front pouch (off-hand scoops) | Right front pouch (off-hand scoops) |
| Utility knife / pencil slots | Right pouch outer slots, tip down | Left pouch outer slots, tip down |
Right-handed layout: what works
Most off-the-shelf setups already favor you. A standard carpenter tool belt with a large pouch on the right and a fastener pouch on the left will cover 90% of trim and framing work if you keep it disciplined.
Put your tape on the left, not the right. Right-handed beginners often put everything on the right because it feels strong, then they have to put down their pencil or square to pull tape. Left-side tape lets you pull with your left hand and mark with your right in one motion, without swapping.
Keep your speed square in a dedicated outer sleeve on the left pouch, not buried inside. A 6-inch or 7-inch speed square needs a 2-inch wide slot; if your pouch only has narrow pencil slots, the square will fall through or crack the stitching over time. If you frame regularly, a left-side rafter square loop is worth it. If you do mostly trim, skip it and save the weight.
Hammer on the right: use a steel hammer holster rather than a leather loop if you carry a 19-22 oz framing hammer. Leather loops wear and let the hammer swing; a holster with a swivel keeps the head from banging your knee on ladders.
Left-handed layout: mirror, don’t compromise
Do not just wear a right-handed belt backwards. The buckle, hammer loop orientation, and pouch angles will be wrong. Instead, buy a symmetrical belt or swap the pouches. Many quality belts use pouches that bolt or lace to the belt at standard 3-inch spacing, so you can move the large tool pouch to the left and the fastener pouch to the right in under five minutes.
When shopping, look for an ambidextrous or left handed tool belt pouch system where both pouches have identical outer pencil/knife slots and reinforced bottoms. Cheap mirrored sets often make the “left” pouch smaller or omit the square sleeve to save cost. That is a dealbreaker – you still need that sleeve, just on the right.
For tape, use a right-side clip that holds the tape with the lock facing forward so your right thumb can hit it without rotation. Left-handed carpenters who use a left-side tape clip end up pulling left-handed, then transferring to the right hand to mark – an extra step that costs seconds per mark and adds error when you are marking overhead.
Trade-off: true left-handed leather belts cost 15-30% more and have fewer options. The cheaper option that is often fine is a nylon web belt with detachable pouches. You get full left/right flexibility and can replace a single pouch for $25-40 instead of replacing a $120-180 sewn leather rig when one pocket blows out. Leather is tougher and looks better but is not faster.
Layout for measuring, marking and edge tools
Measuring and marking tools cause the most belt-related mistakes, not hammers.
Tape measure: dedicated holder, not tossed in the main pouch. A tape bouncing in a deep pouch will retract and catch, and you will waste time untangling it from pencils. Look for a metal clip with a 1.5-inch belt slot; plastic clips crack in cold weather.
Pencils and markers: carry two carpenter pencils and one fine mechanical pencil. Keep them tip-up in outer sleeves on your dominant side so you can draw without looking. If you carry them tip-down, graphite breaks and you stab your hand reaching in.
Chisels and hand planes: do not carry a full set on your belt. One 3/4-inch or 1-inch bevel-edge chisel with a guard is the practical limit for a belt. Anything more belongs in a site kit or shop apron until you need it. Edge-up carry in a belt pouch dulls the edge and cuts stitching. Use a friction-fit chisel sleeve or a pouch with a plastic liner.
Combination square and marking gauge: these live best on the non-dominant side in a vertical pocket where the blade cannot slide out. If your pouch lacks a divider, add a $5-10 pouch divider or a short PVC sleeve inside the pouch. It stops the square from flopping sideways and jamming.
Fit, weight, and what to skip
A loaded carpenter belt should be 12 to 18 pounds. Over 20 pounds and you will get hip pain and lower-back fatigue within two hours, regardless of handedness. If you are over that weight, you are carrying too many fasteners or tools you do not use hourly.
Belt width matters. A 3-inch wide belt spreads weight better than a 2-inch belt. Add suspenders if you carry more than 15 pounds or work overhead – they transfer 40-60% of the weight to your shoulders and stop the belt from sagging and shifting your pouch positions.
Skip pouches with more than 10 small slots. They look organized but you will never remember which slot holds what with gloves on. Four to six well-placed slots (2 pencil, 1 knife, 1 chisel/screwdriver, 1 square sleeve, hammer loop) beats 14 tiny pockets you have to stare at.
Before you buy, put the belt on, load it, and do a 30-second test: with eyes forward, can you draw tape with your off-hand, draw pencil with your dominant hand, mark a line, and return both without looking down? If you have to glance or swap hands, move pouches until you can. That test tells you more than any product description.
For most carpenters, the best value is not a handed kit but a modular belt where you can choose left/right. Set it up mirrored to your handedness once, then leave it. Consistency builds muscle memory faster than any premium leather will.