What's inside
As an Amazon Associate I earn from qualifying purchases. This post may contain affiliate links at no extra cost to you.
Sections
Our Top Picks
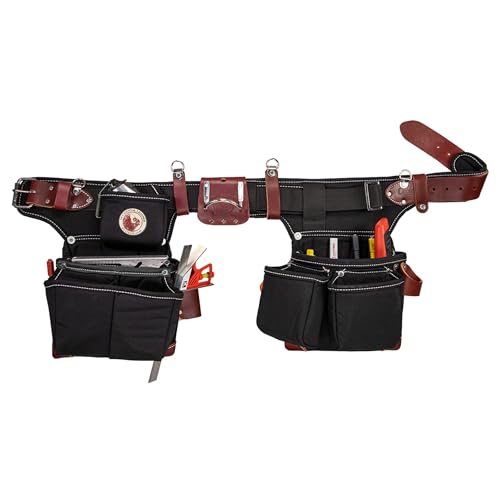 Occidental Leather Adjust-to-Fit OxyLight FramerAdjust-to-Fit – Right Hand14.5 x 14.4 x 4.4 inches4.15 PoundsCheck on Amazon
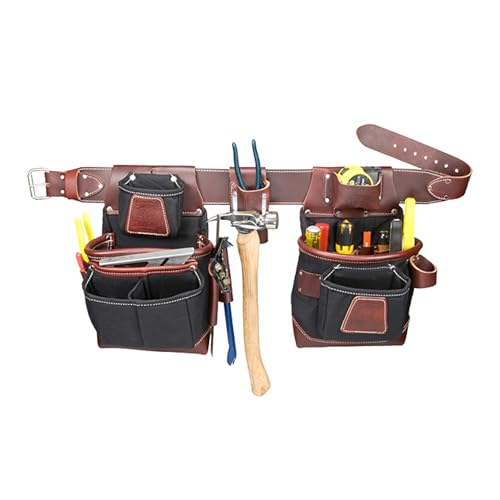
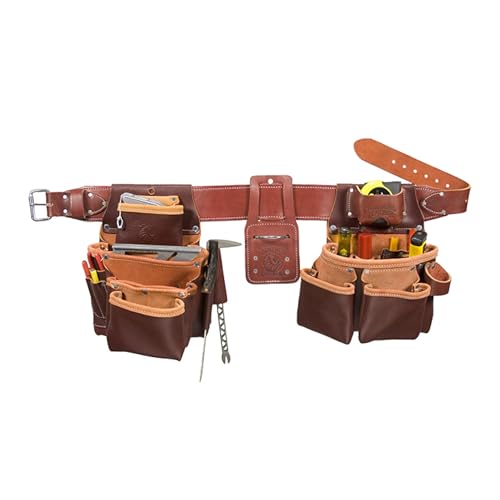
What belongs in a belt for chisels and layout tools?
A belt for finish carpentry needs to keep a few frequently used tools close without turning every step up a ladder into a balancing act. A practical load might be two chisels, a tape, a pencil, a marking knife, and a small square. Add a block plane only if the work calls for it and the belt has a safe, dedicated place for one.
Chisels are the awkward part. Their edges need protection, and an exposed blade can cut you or damage a tape, pencil, or pouch lining. Use individual blade guards or a roll, and stow chisels with the cutting edges covered. Don’t assume a deep pocket makes a bare chisel safe: reaching in quickly is exactly when a hand can meet the edge.
As an Amazon Associate we earn from qualifying purchases at no extra cost to you.


Layout tools also need separation. A metal square rubbing against a chisel edge can nick the edge; a loose marking knife can puncture a pouch. Look for narrow sleeves, dividers, or separate pockets for sharp and metal tools. Carry only the sizes you’ll use that day. A 12-inch square and several chisels can make a belt swing or pull away from your body, especially when bending or climbing.
Choose the belt style for the job
Traditional leather belts are durable and hold their shape, which helps when you’re repeatedly returning tools to the same pockets. They can be heavy before tools are added, and leather may need time to soften. A lighter nylon or polyester rig is often easier to adjust and less expensive, but thin fabric pockets can sag, wear through, or let narrow tools sink out of reach.
For occasional trim work, a compact single-pouch belt is often enough. It costs less and avoids carrying empty pockets all day. For framing or a day that mixes fastening and layout, a two-pouch setup gives more room, but it adds weight and can be cumbersome in tight spaces. A modular rig lets you remove a pouch or add a hammer loop; check that attachments don’t shift when loaded.
Browse single-pouch carpenter belts if you want a simple setup, or compare two-pouch carpenter belts when you need room to separate layout tools from fasteners.
Belt options at a glance
| Type | Best for | Trade-off | Check before buying |
|---|---|---|---|
| Compact single pouch | Trim, punch-list work, light layout kit | Limited room for a plane or larger square | Pockets stay open and reachable when crouching |
| Two-pouch belt | Longer days and mixed tasks | More bulk and weight | Balanced loading and a comfortable belt width |
| Modular rig | Changing the setup by task | Attachments can shift or add cost | Secure fasteners and compatible pouch mounts |
| Basic fabric apron | Occasional use or a tight budget | May sag under dense tools | Reinforced seams and pockets deep enough for tools |
Fit and load matter more than pocket count
Measure your waist over the clothes you normally work in, then check the maker’s belt range rather than relying on a nominal size. A belt should sit securely without being cinched so tightly that it restricts bending. If the rig has suspenders, they can help distribute a heavier load, but they add straps that may catch on materials and are unnecessary for a light layout kit.
Load the belt before judging it. Put the tape and commonly used tools in their intended pockets, then walk, kneel, and bend. A pouch that feels fine while standing may tip forward when you reach overhead. If you can, keep the heavier pouch near the side of your body rather than letting it hang in front. Remove anything you don’t use regularly; a belt is not a substitute for a nearby tool tote.
Check pocket openings with the actual tools. A pencil sleeve that fits one carpenter’s pencil may be too loose for a narrow marking pencil, while a small square can wedge in a pocket designed for fasteners. If a tool needs two hands to retrieve, or catches when you return it, that pocket is a poor match.
Protect sharp edges and delicate tools
Keep chisels in covers or a dedicated holder, with enough separation that the edges cannot strike each other. A simple canvas roll is an inexpensive choice for carrying chisels between jobs, but it is less convenient for frequent access on a belt. For regular site use, look at belt-mounted chisel holders and check that the openings fit your chisel widths without letting them rattle freely.
Hand planes are dense and usually need more support than a standard pencil or utility pocket. Don’t carry a plane in a pouch that lets it swing or drop out when you lean forward. A small block plane can ride in a snug, reinforced compartment, but many people are better off keeping it in a nearby tote and bringing it out when needed. The cheaper belt is fine if it carries only light tools; spending more on reinforcement is useful only when the rig regularly bears heavier equipment.
A quick buying checklist
Before choosing, count the tools you’ll actually carry and note their lengths, widths, and weight. Look for reinforced stitching at pocket corners, a belt that stays flat under load, and enough separation to keep sharp edges away from layout tools. Try the belt with a tape, two covered chisels, a pencil, a marking tool, and your usual square. If that basic kit feels crowded, a larger rig may help; if it feels loose and bulky, choose a smaller pouch rather than filling empty pockets.