What's inside
As an Amazon Associate I earn from qualifying purchases. This post may contain affiliate links at no extra cost to you.
A rabbet is only as consistent as the line that defines it. If the shoulder wanders by 1/32 inch, the joint will show a gap, the back panel will sit unevenly, or a plane will remove more material at one end than the other. A marking gauge is the simplest way to establish a repeatable rabbet width, provided the fence stays tight against the reference edge.
For most cabinet and trim work, a traditional pin marking gauge or a wheel gauge is more useful than a ruler and pencil. Set the gauge once, run it around every matching part, and the shoulder lands at the same distance each time. The best choice depends on the wood, the size of the rabbet, and whether you are marking with or across the grain.
As an Amazon Associate we earn from qualifying purchases at no extra cost to you.


Sections
Our Top Picks
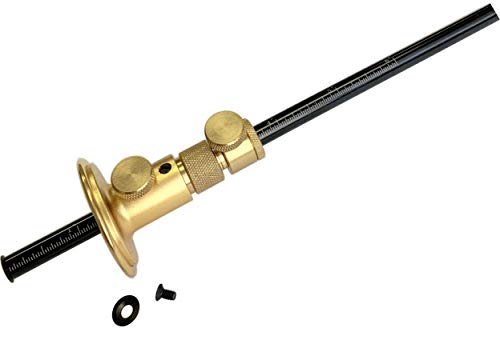
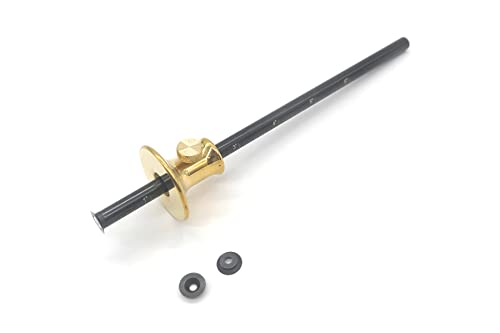
What to Look for in a Rabbet Marking Gauge
The important measurements are not the overall size of the tool but the fence, beam, cutter, and locking mechanism. A broad fence is easier to keep flat against a board edge. A beam at least 6 inches long handles common rabbet widths from 1/8 to 2 inches, while a longer beam is helpful on wide stock or when the reference edge is awkward.
Look for a fence that locks without twisting the beam. Cheap gauges often clamp at one end and allow the beam to rotate slightly as you tighten the screw. That can change a nominal 1/2-inch setting by several hundredths of an inch. It is worth checking the setting against a ruler or combination square before marking expensive stock.
A rabbet gauge should also have a cutter that can be positioned close to the fence. If the cutter is offset or loose, it may skate at the beginning of the cut. This is especially noticeable when marking a narrow 1/4-inch rabbet.
The Main Gauge Types
| Gauge type | Best use | Strengths | Weaknesses |
|---|---|---|---|
| Pin marking gauge | Softwood, general joinery, cross-grain layout | Simple, inexpensive, easy to sharpen | Can tear end grain and soft wood |
| Wheel marking gauge | Clean shoulder lines in hardwood and plywood | Controlled cut, less tearing, excellent repeatability | Usually costs more; wheel must be kept sharp |
| Cutting gauge | Precise layout and severing fibers before chopping | Clean line, useful for rabbets and dados | Less forgiving if pushed against the wrong reference edge |
| Mortise gauge | Two parallel lines or repeated twin layouts | Can mark both sides of a mortise at once | Unnecessary bulk for a single rabbet shoulder |
Best Overall: A Wheel Marking Gauge
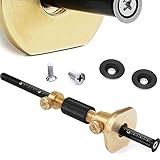
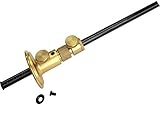
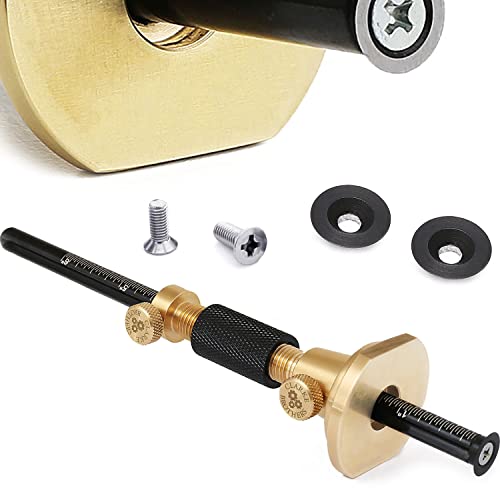
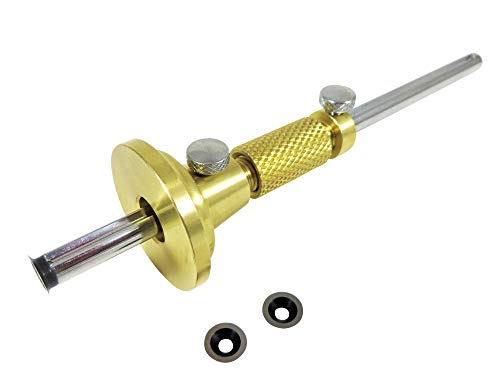
A wheel gauge is the strongest all-around choice for scribing a consistent rabbet width. Its circular cutter slices the fibers instead of dragging a point through them. That matters on cherry, maple, oak, and veneered plywood, where a pin can lift fibers on the waste side of the line.
Choose a wheel marking gauge with a rigid fence and a fine adjustment if possible. A fine adjuster is convenient when moving from a 3/8-inch rabbet to a 7/16-inch rabbet, but it is not essential. The main requirement is that the cutter and beam lock firmly enough that the setting does not shift while you work.
For a typical 1/2-inch rabbet, set the cutter approximately 1/2 inch from the fence, then verify it on scrap from the same board. Make a short test mark and measure from the reference edge to the near side of the cut. Do not measure to the center of the groove. The cutter creates a narrow kerf, and the shoulder should be located at the edge that will guide your plane or chisel.
Best Budget Choice: A Pin Marking Gauge
A traditional pin gauge is fine for pine, fir, poplar, and rough construction work. It is also a sensible choice if you mark rabbets that will be hidden by a back or bottom panel. A sharp pin costs little, and replacement pins are easy to make or buy.
Use a pin marking gauge with a metal face on the fence or a solid hardwood fence that will not compress. A narrow, soft fence can rock on a rounded board edge and produce a tapered rabbet.
Pin gauges have two common failure modes. First, the pin follows the grain instead of staying on the intended path, particularly on long-grain softwood. Second, the pin tears the surface when pulled backward. Always mark in the direction that lets the pin cut cleanly, and make a light first pass before deepening the line. If the edge is fragile, a wheel gauge is the better buy.
When a Cutting Gauge Makes More Sense
A cutting gauge is useful when the rabbet shoulder must be exceptionally crisp or when you are laying out several joints on finished hardwood. The cutter severs the fibers cleanly, giving a chisel or shoulder plane a defined wall to work toward. Search for a woodworking cutting gauge if you want one tool that can also mark dados, crosscuts, and housing joints.
The trade-off is that a cutting gauge is less tolerant of sloppy technique. Keep the fence firmly against the reference edge and take two or three light passes rather than one heavy pass. A deep first cut can pull the tool into the grain or cause the fence to lift. On narrow stock, clamp the work securely; a cutter can push a small piece sideways.
How to Scribe the Rabbet Accurately
Choose one reference face and one reference edge. Mark them clearly with a cabinetmaker’s triangle, then keep that orientation for every mating part. Set the gauge from the reference edge, not from an opposite edge that may be slightly out of parallel.
Lock the gauge and test it on scrap. Make a line, measure it at both ends, and confirm the rabbet depth matches the design. For a 1/2-inch rabbet, a difference of more than about 1/64 inch is worth correcting before marking the real workpiece. On small boxes, even 1/64 inch can be visible; on rough shelving, it may not matter.
Hold the fence flat and pull the gauge toward you with steady pressure. Make one light pass around the work, then repeat until the line is clear. Keep the gauge square to the edge rather than leaning it toward the beam. On end grain, reduce pressure and support the fibers with a backer board if the cut exits into a fragile corner.
For repeated parts, do not unlock the gauge between pieces. Check the first and last board against a master part, and inspect the cutter periodically. A dull cutter requires more force, which increases the chance of fence movement and torn fibers.
What to Buy
Buy a wheel gauge for hardwood furniture, veneered panels, and clean shoulder work. Buy a pin gauge if most of your work is softwood, site carpentry, or hidden joinery. A cutting gauge is worth adding when you regularly chop rabbets with chisels and want the layout line to act as a crisp stopping boundary.
Spend money on a rigid fence and reliable lock before paying extra for decorative wood or a complex adjustment mechanism. A modest gauge that stays at 1/2 inch is more useful than an expensive one that shifts every time the beam is tightened.