What's inside
As an Amazon Associate I earn from qualifying purchases. This post may contain affiliate links at no extra cost to you.
A timber shoulder is the vertical face at the end of a tenon, housed rail or other joint. Its line needs to be clear and square across the timber, and the cut must stop cleanly at that line. A marking gauge and a cutting gauge can both lay out the shoulder, but they do it with different heads. The right choice depends on the timber, the grain and whether the mark needs to guide a saw or sever fibres for a chisel.
As an Amazon Associate we earn from qualifying purchases at no extra cost to you.


Sections
Our Top Picks
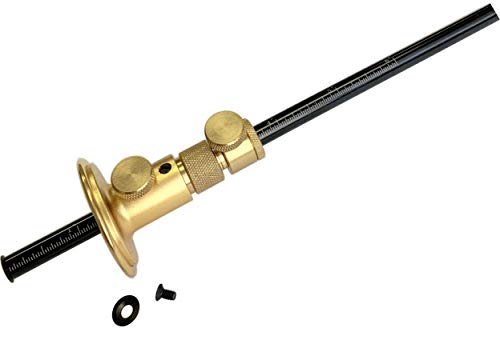
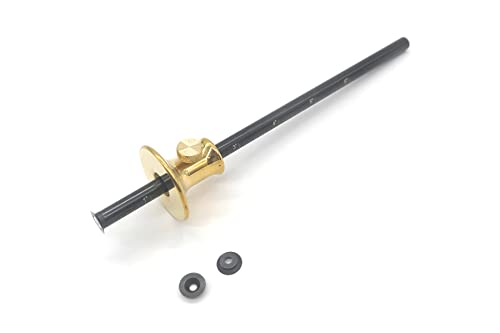
The difference that matters
A marking gauge uses a pin or small spur to scratch a line. A cutting gauge uses a knife, usually held in the stock by a wedge or screw. Both have a stock that bears against a reference face and a stem that sets the offset. The knife makes a cleaner, more precise incision across the grain; the pin is simpler and often adequate for rougher work or a line that will be planed away.
For a shoulder, set the gauge from the face side—the prepared reference face—rather than measuring independently from both edges. That keeps the shoulder in the same plane even if the timber is slightly out of parallel. Set the tool to the shoulder position, lock it, and test the setting on scrap from the same stock before marking the workpiece.
Marking gauge vs cutting gauge
| Feature | Marking gauge | Cutting gauge |
|---|---|---|
| Marking element | Pin or spur scratches the surface | Knife slices the surface fibres |
| Best shoulder use | General layout; rough work or softwood | Accurate shoulders, especially across the grain |
| Risk | Can tear or follow grain; pin may wander | Knife can cut too deeply or leave a visible cut outside the joint |
| Typical cost and upkeep | Usually cheaper; pin needs to be sharp and correctly oriented | Often costs more; blade needs sharpening and careful adjustment |
| Useful for | Repeated parallel lines and quick marking | Shoulder lines that will be pared to, or cuts needing a clean edge |
Which one should you buy?
For occasional work in construction-grade softwood, a basic marking gauge is usually enough. A pin line can be easy to see, and a little bruising or tear-out is rarely a concern if the shoulder is hidden or the surface will be cleaned up. It also makes sense if you mainly use the gauge to set a parallel line for trimming stock, rather than to guide a chisel edge.
Choose a cutting gauge when clean shoulders matter, particularly in hardwood or on a visible joint. A knife severs fibres rather than pushing them aside, so it gives a crisp boundary for chopping waste. It is not automatically more accurate: a loose stem, a dull blade or a stock that rocks against the edge can spoil the line just as readily as a cheap pin gauge.
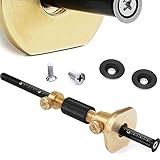
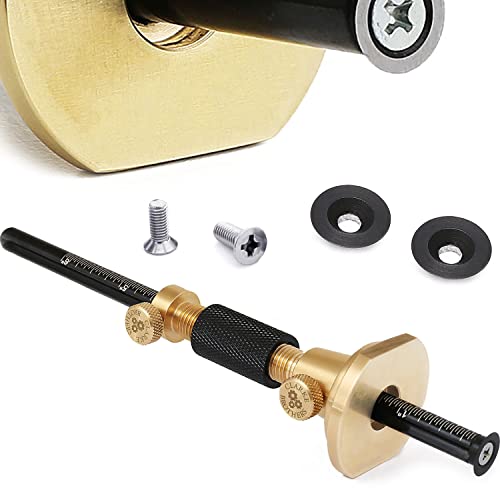
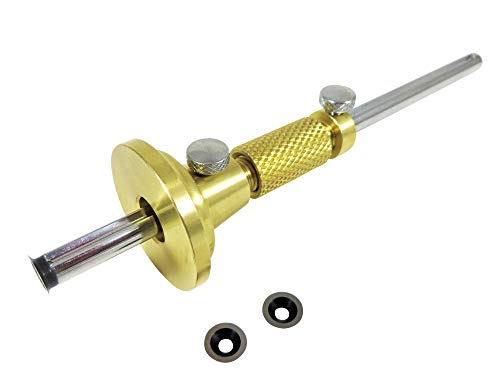
Some gauges use a wheel cutter instead of a knife or pin. The wheel rolls smoothly and is less likely to snag grain, but its mark may not be as useful as a knife incision when defining a shoulder across the grain. If you want one tool for both general marking and clean shoulder work, compare a wheel marking gauge with a knife-style cutter and choose based on the work you do most.
Set and use the gauge accurately
First mark the shoulder position from the drawing or layout. Set the gauge against the face side and bring the cutter to the mark; do not rely on counting turns or transferring a measurement from a ruler if you can set it directly to a knife line. Lock the stem firmly, then check the distance at both ends of the stock. A few tenths of a millimetre of error may be obvious on a small joint, while a 1 mm mismatch can leave a shoulder visibly out of square.
Hold the stock flat against the reference edge and use light pressure. Make two or three controlled passes rather than forcing a deep cut in one pass. On a cutting gauge, keep the blade angled so it cuts cleanly as you move the tool; on a pin gauge, orient the spur to score with the grain rather than ploughing against it. If the gauge pulls away from the edge or the line wanders, stop and reset instead of pressing harder.
Use the line to control the cut
When sawing a shoulder, the gauge line is a boundary, not a target to erase. Start the saw on the waste side and leave the line intact. A knife line gives the saw kerf a clean edge and helps reduce breakout on the face. If the shoulder is being chopped, cut a shallow knife wall first, then remove waste in small amounts. Pare toward the wall with a sharp chisel; levering against a thin shoulder can split the corner beyond the layout line.
For a through shoulder, gauge from the face side and carry the line around the end and opposite face only if the stock is square enough for the marks to meet. If they do not meet, check the stock and reference face before blaming the gauge. On a wide board, the tool’s stock can also tip if it is narrow or the edge is uneven; a larger stock or a marking knife and square may be more reliable for that particular layout.
Common mistakes and fixes
A deep gauge cut can leave a permanent groove outside the joint, especially when the shoulder position is changed. Begin with a light pass and confirm the setting before committing. A dull cutting blade crushes fibres and may skid; sharpen it before use. A pin that is too prominent can tear soft grain, so reduce its projection rather than trying to compensate with a heavier push.
Another common error is gauging from an unprepared edge. A gauge follows every dip and bump in that edge, transferring the defect to the shoulder. Plane or otherwise true the reference edge first, and keep the same face against the stock throughout. For a single rough frame or shed joint, that discipline matters more than buying an expensive gauge. For repeated fine joinery, a sharp cutting gauge saves cleanup time and gives a more dependable shoulder line.