Our Top Picks
 Klein Tools 93RLS Green Self-Leveling Rotary Laser Level32 x 16 x 8.75 inches4.36 PoundsCheck on Amazon
 BOSCH GLL50-20G 50 Ft Green-Beam Self-Leveling Cross-Line LaserOne Size4.1 x 2.5 x 3.9 inches0.77 poundsCheck on Amazon

What's inside
- Accuracy per distance is the only spec that matters first
- IP rating and drop rating tell you if it survives the truck
- Green versus red, and why the best laser level for contractors is usually green
- Range, detectors, and the outdoor problem
- Mounting, power, and the parts nobody budgets for
- Frequently asked questions
- Related Guides
- Accuracy per distance is the only spec that matters first
- IP rating and drop rating tell you if it survives the truck
- Green versus red, and why the best laser level for contractors is usually green
- Range, detectors, and the outdoor problem
- Mounting, power, and the parts nobody budgets for
- Frequently asked questions
- Related Guides
As an Amazon Associate I earn from qualifying purchases. This post may contain affiliate links at no extra cost to you.
The spec that separates a professional tool from a homeowner tool is accuracy stated per distance, and most buyers never read it. A line laser rated at plus or minus 1/8 inch at 30 feet and one rated at plus or minus 1/4 inch at 30 feet look identical on the shelf and cost within a hundred dollars of each other, but only one of them will hold a tile course across a commercial bathroom without visible lippage. Choosing the best laser level for contractors comes down to reading three numbers correctly: accuracy per distance, IP rating, and self-leveling range.
This is an equipment guide, not a hype piece. Laser levels fall into distinct classes that do not really compete with each other. A cross-line laser cannot do what a rotary laser does, and a rotary laser is overkill and awkward for interior finish work. Figure out which class your trade actually needs first, then shop specs within that class.
As an Amazon Associate we earn from qualifying purchases at no extra cost to you.


| Class | Typical accuracy | Best use | Watch out for | ||
|---|---|---|---|---|---|
| Cross-line (2-line) | ±1/8 in at 30 ft | Interior layout, tile, cabinets | Short outdoor range without detector | ||
| 3× | 360 / 4× | 360 | ±1/8 in at 30 ft | Full-room layout, drop ceilings, framing | Higher cost, needs good tripod |
| Rotary (interior/exterior) | ±1/16 to ±1/8 in at 100 ft | Grading, footings, deck slabs, site work | Requires detector, steeper learning curve | ||
| Dot / plumb-spot | ±1/8 in at 30 ft | Plumb transfer, anchor layout, MEP hangers | No continuous line for leveling | ||
| Laser distance measure | ±1/16 in typical | Takeoffs, estimating, as-builts | Not a leveling tool |
Sections
- Accuracy per distance is the only spec that matters first
- IP rating and drop rating tell you if it survives the truck
- Green versus red, and why the best laser level for contractors is usually green
- Range, detectors, and the outdoor problem
- Mounting, power, and the parts nobody budgets for
- Frequently asked questions
- Related Guides
Accuracy per distance is the only spec that matters first
Manufacturers publish accuracy as a tolerance at a stated distance, and you have to normalize before comparing. A tool listed at plus or minus 3/32 inch at 30 feet is tighter than one listed at plus or minus 1/8 inch at 30 feet, and both are tighter than a rotary listed at plus or minus 1/4 inch at 100 feet once you scale it down. Interior finish trades should be shopping in the 1/8 inch at 30 feet band or better. Site work and grading generally live in the 1/16 to 1/8 inch at 100 feet band because the working distances are longer and the tolerances on concrete and earthwork are looser.
Two practical notes. First, published accuracy assumes the tool is within its self-leveling range and sitting on something stable. Set a 1/8 inch tool on a wobbly bucket and you have a 1/2 inch tool. Second, accuracy drifts after impact. Any laser that has been dropped or has ridden loose in a truck bed for a season should be field-checked, and the calibration check is worth doing quarterly on a tool you bill against.
The standard field check is straightforward: set the laser roughly midway between two walls 20 to 30 feet apart, mark the line on each wall, move the laser close to one wall, and re-mark. The difference between the two marks on the far wall is your error, and it should fall inside the published tolerance doubled. If it does not, the tool needs service, not a workaround.
IP rating and drop rating tell you if it survives the truck
Ingress protection is defined by IEC 60529, and the two digits mean specific things. The first digit is solids, the second is water. IP54 means dust-protected and splash-resistant from any direction, which is the realistic minimum for interior jobsite use. IP65 means dust-tight and protected against water jets, which is what you want on a tool that lives outdoors or on a concrete pour. IP67 adds temporary immersion. Anything with no published IP rating should be treated as an indoor, dry-conditions tool regardless of how rugged the housing looks.
Drop ratings are less standardized, so read them literally. A tool advertised as surviving a 1 meter drop was likely tested on a specific face onto a specific surface. Overmolded corners, a recessed pendulum lock, and a hard case with a molded insert do more for real-world survival than a marketing number. The pendulum lock deserves attention: a tool that locks the pendulum in the off position protects the leveling mechanism in transit, and its absence is a genuine durability liability on a tool you move daily.
3x360 Green Beam Laser Level for Interior Layout
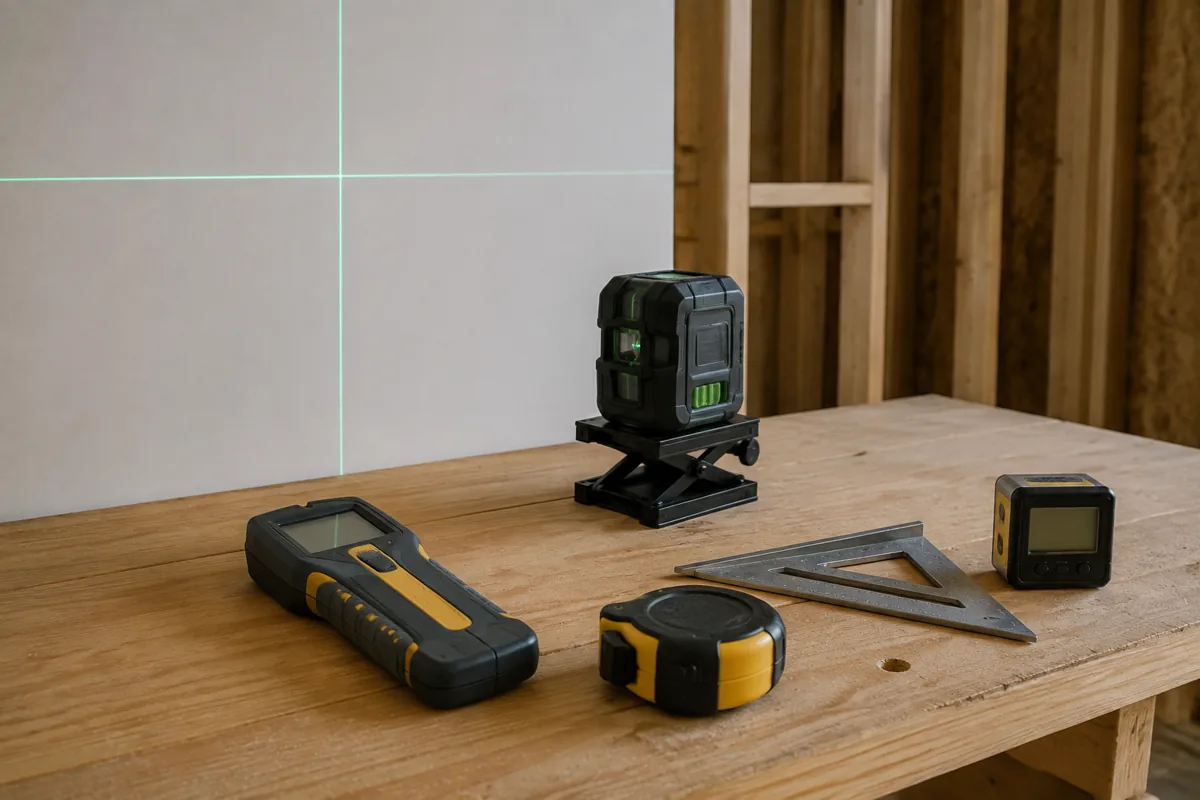
For most interior contractors the 3×360 green-beam class is the honest sweet spot. You get a full horizontal plane plus two vertical planes, which covers wall layout, drop ceilings, door and window heights, and plumb transfer without moving the tool. Look for IP54 or better, a pendulum lock, and 1/4-20 plus 5/8-11 threads so it fits both photo tripods and surveying tripods. Buy the kit with a hard case if the price gap is small.
Green versus red, and why the best laser level for contractors is usually green
Green diodes emit near 515 to 532 nanometers, which sits closer to the peak sensitivity of human photopic vision than the roughly 635 to 650 nanometer red diodes. The practical result is that a green line reads as noticeably brighter than a red line of the same rated output power. That is a perception effect, not more laser power, and it matters most in bright interiors and at longer indoor distances.
The tradeoffs are real. Green diodes draw more current, so runtime per charge is shorter, and they historically cost more and are more sensitive to cold. Red remains a reasonable choice if you work in dim interiors, prioritize battery life, or use a detector for everything anyway, since a detector reads the beam electronically and does not care how bright it looks to you.
Regardless of color, check the laser class. Most jobsite line and rotary lasers are Class 2 or Class 3R under IEC 60825-1, which is the eye-safety standard. Class 2 is limited to 1 milliwatt and relies on the blink reflex. Class 3R can go to 5 milliwatts and warrants avoiding direct eye exposure. Neither should be aimed at people, and Class 3R tools on a crowded site are worth a word at the morning huddle.
- ✔ Green beams read brighter indoors at working distance
- ✔ 3×360 layouts eliminate repositioning on room layout
- ✔ IP54 and above survives normal jobsite dust and splash
- ✔ Detector compatibility extends usable range outdoors
- ✔ Dual 1/4-20 and 5/8-11 threads fit existing tripods
- ✘ Green diodes cut runtime versus red
- ✘ Self-leveling ranges are narrow, so a bad setup defeats the spec
- ✘ Detectors, tripods, and grade rods add real cost to the system
- ✘ Cheap units often omit published IP or accuracy figures
- ✘ Calibration drifts after impacts and needs periodic checking
Range, detectors, and the outdoor problem
Advertised range numbers are the single most misread spec in this category. A cross-line laser might list 50 feet unaided and 200 feet with a detector. Those are different modes. Unaided range is what your eye can see, and it collapses in daylight to a fraction of the indoor figure. Detector range is what the electronic receiver can find, and it is the number that governs outdoor work.
If any part of your work happens outside, buy for the detector. That means confirming the laser has a pulse mode and that the detector you buy is matched to the beam color and the manufacturer’s pulse frequency. Cross-brand detector compatibility is not reliable. For grading, footings, and slab work, a rotary laser plus a detector and grade rod is the right system, and a self-leveling rotary with a slope function pays for itself the first time you set drainage fall on a driveway or patio.
Self-Leveling Rotary Laser Level Kit with Detector
Once you are outdoors, a rotary kit is the tool. Prioritize the kit that bundles a matched detector, rod clamp, and grade rod, because buying those pieces separately usually costs more and risks a compatibility mismatch. Confirm IP65 or better, check whether slope mode is manual or motorized on both axes, and verify the detector’s stated working range matches your longest typical shot.
Mounting, power, and the parts nobody budgets for
A laser is only as level as what it sits on. Check the thread: 1/4-20 is the photo-tripod standard, 5/8-11 is the surveying standard, and a tool with both is more flexible. An elevating tripod with a crank column is worth the money for ceiling grid and cabinet layout because you can dial elevation without breaking setup. For wall work, a magnetic pivoting bracket or a pole mount with a fine adjustment knob beats fighting a tripod in a tight hallway.
On power, tool-battery compatibility matters more than raw runtime. If your crew is already on one platform, a laser that accepts the same packs as your drills removes a charger from the truck. DeWalt XR, Milwaukee FUEL, and Makita LXT lines all have lasers that share their platform batteries, and most of those tools also accept alkaline cells as a backup, which is a genuinely useful fallback when a pack dies at 3 p.m.
Budget for the accessories up front. A target card, a magnetic ceiling clamp, and laser-enhancement glasses are inexpensive and each one meaningfully extends what the tool can do. The glasses do not make the beam safer to look at, they just filter competing wavelengths so the line stands out.
Frequently asked questions
Do I need a green laser, or is red good enough? Red is fine for dim interiors, short distances, and any workflow that runs through a detector. Green wins in bright rooms and at longer indoor spans because the human eye perceives it as brighter at the same output. If you are buying one tool to cover mixed conditions, green is the safer choice despite the shorter runtime.
What accuracy should I insist on for finish work? Aim for plus or minus 1/8 inch at 30 feet or tighter for tile, cabinets, trim, and drop ceilings. Anything looser starts showing up as cumulative error across a long run. Site work and grading can live with wider tolerances stated at 100 feet because the finished tolerances themselves are wider.
How often should a laser level be recalibrated? Field-check it quarterly on a tool in daily use, and immediately after any drop or hard impact. The two-wall check takes about five minutes and tells you whether the tool is still inside its published tolerance. Send it in for factory calibration when it fails, rather than compensating by hand.
Pick your class first, then read accuracy per distance, IP rating, and self-leveling range in that order. Once you have narrowed to two or three tools in the right class, the deciding factors are usually battery platform, mounting threads, and whether a matched detector is included.
Check prices on Amazon →