What's inside
As an Amazon Associate I earn from qualifying purchases. This post may contain affiliate links at no extra cost to you.
Cleaning dried glue from a timber joint is a controlled paring job, not a contest to see how hard you can hit a chisel. The right blade needs to enter a narrow joint, stay sharp at a low angle, and remove thin curls without bruising the surrounding wood. A cheap chisel can be perfectly adequate, but the wrong shape or a dull edge will turn a routine cleanup into chipped shoulders, crushed fibres and a joint that no longer closes.
As an Amazon Associate we earn from qualifying purchases at no extra cost to you.


Sections
Our Top Picks
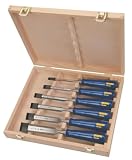
 IRWIN Tools Marples High-Impact Chisel Set3 Piece12.63 x 5.75 x 1.3 inches2.05 poundsCheck on Amazon


What makes a good glue-cleaning chisel
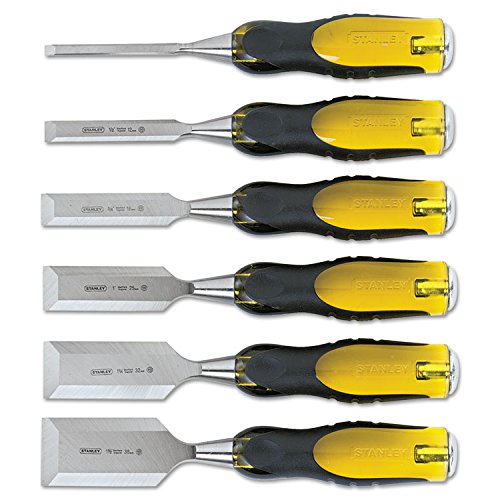
For most furniture and general carpentry work, start with a sharp bevel-edge chisel between 6mm and 19mm wide. The bevels reduce the chance of the blade binding against the sides of a mortise or rebate, while the flat back can register against a reference surface when paring. A 12mm or 16mm chisel is the most useful first size; narrower blades are better for corners and wider blades remove glue faster from open areas.
Look for a blade with a reasonably flat back, cleanly ground bevels and a handle that can be controlled close to the work. A socket or heavy-duty tang handle is useful if you expect occasional light mallet work, but glue cleanup is usually done by hand pressure. A thick blade resists flexing, though an overly thick chisel may not fit into a tight housing or narrow mortise.
A keen edge matters more than premium steel. Hone the primary bevel to roughly 25 degrees, with a small secondary bevel around 27 to 30 degrees. For paring, a 25-degree edge gives easy cutting; for light striking, a slightly more durable 30-degree edge is safer. Whichever geometry you choose, remove the wire edge and keep the back flat enough that it does not rock on the joint surface.
Best chisel types for dried glue
| Chisel type | Best use | Strengths | Limitations |
|---|---|---|---|
| Bevel-edge bench chisel | General glue removal and joint fitting | Versatile, easy to control, available in many widths | Thin edges can be damaged by heavy hammering |
| Butt chisel | Shallow recesses, hinges and tight corners | Short blade fits restricted spaces; rigid in use | Less reach and less useful for deep mortises |
| Heavy-duty framing chisel | Hard impact and rough joinery | Strong blade and striking handle | Too bulky for delicate shoulder cleanup |
| Fishtail or skew chisel | Inside corners and narrow dovetail spaces | Reaches corners ordinary blades cannot | Specialist purchase; less stable for broad paring |
A standard bevel-edge bench chisel set is the sensible buy for most people. A set containing 6mm, 12mm, 19mm and 25mm sizes covers common mortises, dados, tenons and frame joints. If your work is mainly cabinet doors or small boxes, a set of shorter butt chisels may be more convenient than full-length bench chisels.
Paring cured glue without damaging the wood
First remove loose squeeze-out with a cabinet scraper or a sharp utility knife held nearly flat. Chisels should deal with the remaining ridge, not with a thick lump that can lever the blade sideways. Dried PVA is hard enough to deflect a dull edge, but it is usually softer than the surrounding timber. Set the chisel almost flat, bevel up or down according to the surface, and take cuts of about 0.5 to 1mm.
On a tenon cheek, place the flat back against the timber and push with both hands. Cut with the grain where possible, but test the direction because grain can reverse around shoulders and knots. Paring against the grain can lift a long splinter from the edge of the tenon. If the glue is proud of the surface, shave from both ends toward the middle instead of starting at one end and allowing a split to run.
For a mortise or housing, use a chisel slightly narrower than the opening. A blade that is exactly the same width can wedge in the corners and damage the arris. Work from the open face toward the back, taking short cuts. Do not twist a chisel to pry out glue; that is how edges chip and joint walls become bell-mouthed.
When to use a mallet
Use hand pressure for glue film and thin ridges. A light wooden or plastic mallet is appropriate when cured glue forms a hard plug in a mortise, but keep the cuts short and the chisel aligned with the joint. Two or three light taps are preferable to a heavy blow. If the blade stops suddenly, withdraw it and clear the waste rather than hitting harder.
Heavy-duty chisels make sense for construction joints, old animal glue and rough mortise work. For fine furniture, a short butt chisel set is often easier to control in shallow housings and hinge recesses. The cheaper option is fine if the backs are reasonably flat and you are prepared to sharpen them before use. Do not pay extra merely for a polished handle or decorative storage box.
Specialist chisels and supporting tools
A fishtail chisel is useful for cleaning the narrow end of a dovetail socket, where a straight-sided blade cannot reach. A skew chisel performs a similar job in some stopped housings. These are worthwhile only if you regularly make those joints. For occasional work, a narrow 6mm bevel-edge chisel can often reach far enough when used carefully.
A thin scraper is valuable for glue on broad faces, and a marking knife helps define a shoulder before paring. Keep a small honing guide or sharpening stone nearby: a blade that is sharp at the start may lose its edge after 10 minutes of scraping cured adhesive. A diamond sharpening stone is convenient on site because it does not need oil and removes small chips quickly, though a waterstone can produce a finer final edge.
For most users, the best purchase is a modest bevel-edge set plus one narrow butt chisel if your work includes cabinets or hinges. Add specialist fishtail chisels only for repeated dovetail work. Spend the remaining budget on sharpening and practice: a correctly honed, ordinary chisel removes glue more safely than an expensive blunt one.