What's inside
As an Amazon Associate I earn from qualifying purchases. This post may contain affiliate links at no extra cost to you.
Setting out stair treads is a measuring and layout job before it is a cutting job. A small error repeated across a flight can leave the top tread short, the bottom tread proud, or the nosings out of line. The useful kit is not a pile of specialist gadgets: it is a reliable rule or tape, a square, a sharp pencil or knife, and a way to transfer repeatable measurements without accumulating rounding errors.
As an Amazon Associate we earn from qualifying purchases at no extra cost to you.


Sections
Our Top Picks
 KAKURI Wood Marking Gauge Double Blade 3.5"1 Count (Pack of 1)4.8 x 3.9 x 2.8 inches0.3 PoundsCheck on Amazon
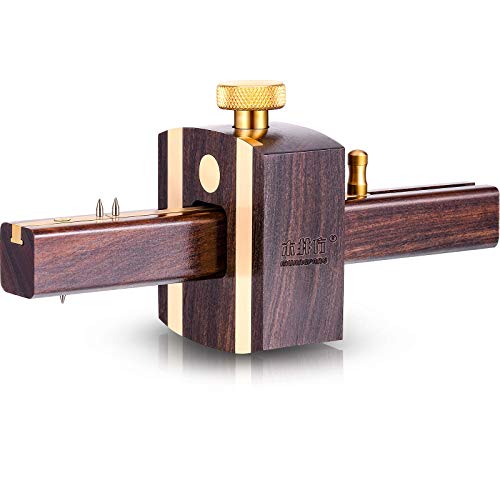 Mortise Gauge Woodworking Marking Gauge Ebony Mortise Square1 Count (Pack of 1)0.74 poundsCheck on Amazon


Choose tools for the layout, not the toolbox
For a typical timber stair, start with a tape measure, a framing square or combination square, a straightedge, and a marking knife or fine pencil. Add a stair-layout jig if you are laying out several identical stringers or need to transfer tread and riser positions repeatedly. A bevel gauge helps when the stair angle or a housed joint needs to be copied, but it does not replace measuring the rise and going.
A stair-layout square with adjustable gauges can speed up repeated stringer marks. For one short flight, ordinary square and pencil marks are usually enough. Do not buy a jig expecting it to correct bad measurements: it repeats whatever setting you give it.
Measure the flight before marking treads
Measure the total finished floor-to-floor rise, then establish the number of risers required by the plan and applicable local rules. Divide the total rise by that number to get the individual riser height. For example, a 2,880 mm rise divided into 16 risers gives 180 mm per riser. Confirm the finished floor and tread thicknesses: overlooking a floor finish can make the first or last riser different from the rest.
Work out the going from the stair design, then mark the nosing position consistently. The distance from one nosing to the next is not necessarily the same as the full tread-board depth; the tread may project over the riser below. Keep these dimensions distinct in your notes. Also check the actual stringer length and the landing positions rather than assuming the drawing matches the site.
Use a steel rule or a good tape for measurements, but avoid switching between tools mid-layout if their hooks, scales, or zero points differ. A loose tape hook can move slightly by design to compensate for inside and outside measurements; it is not automatically faulty. For repeated short dimensions, mark from a fixed datum or use a story pole instead of adding each tread increment to the previous one.
Which marking tool earns a place?
| Tool | Best use | Trade-off |
|---|---|---|
| Tape measure | Overall rise, run, and site checks | Fast, but repeated tape readings can introduce small errors |
| Framing square | Transferring tread and riser dimensions to stringers | Versatile; requires careful alignment and secure settings |
| Stair gauges | Repeating the same rise and going on a square | Speeds layout, but can slip if clamps are loose |
| Marking knife | Precise cuts and shoulder lines | Fine line; slower and less visible than pencil on rough stock |
| Chalk line | Long reference lines across boards or floors | Quick, but too broad for close-fitting joinery |
Set the square and mark consistently
For a cut stringer, set the framing square to the chosen rise and going, then fit stair gauges against the appropriate square blades. Tighten them firmly and test the setup on scrap. Lay the square against the stringer edge and trace both legs of the step, keeping the same reference edge against the same board edge each time. A framing square and stair gauges are a practical combination for this work; check that the square is true before relying on it.
Mark in a consistent direction and label each line or cut clearly. On a long flight, confirm the last step against the landing and the first step against the lower floor before cutting. Small discrepancies can come from rounding the riser dimension, a non-square stringer edge, or a missed allowance for tread thickness. If a calculated rise is 179.5 mm, do not casually round every step to 180 mm: across 16 risers, that adds 8 mm. Resolve the layout so the total rise closes correctly, while keeping individual risers as uniform as the design permits.
Choose a line you can see and cut to
A sharp pencil is quick and easy to read on most timber. Use a fine lead, and keep it sharp; a broad line can hide a few millimetres of error. A marking knife makes a crisp reference for a saw cut or chisel, especially on smooth, planed stock, but a knife line can be hard to see on dark or rough timber. Score lightly first and keep the blade against the correct side of the layout line. Cutting the wrong side can remove the intended material.
A carpenter’s marking knife or fine mechanical pencil is a modest purchase, not a requirement. A sharpened carpenter’s pencil is fine for rough framing marks. Save knife lines for places where a clean, exact reference affects the fit.
Check for drift before cutting
After marking several steps, measure back from a common datum and compare the result with the total run. Do not verify only the spacing between adjacent lines: a repeated small error may leave each neighbouring mark looking plausible while moving the top step out of position. Check the first and last step, the total rise and run, and the intended tread projection. If the stair has a housed stringer, transfer the tread thickness and housing depth separately; a square-and-gauge setup alone does not establish those joint dimensions.
Before cutting the stringers, place a tread board or a template against the layout and check the nosing position. Confirm both stringers match by stacking or carefully comparing their marks. A jig that has shifted, a pencil line that is too wide, or measuring from the wrong edge can make a pair of stringers disagree. Fix the layout while the boards are still intact. Once the cuts are made, correcting a stair that does not close at the landing is much harder than checking the arithmetic and references twice.