What's inside
As an Amazon Associate I earn from qualifying purchases. This post may contain affiliate links at no extra cost to you.
Marking a finished board is different from marking bare timber. A knife can score the coating instead of the wood, chip a brittle film, or leave a scratch that remains visible after the job. The right choice depends on the finish and on whether the line needs to guide a cut or simply locate a fitting.
As an Amazon Associate we earn from qualifying purchases at no extra cost to you.


Sections
Our Top Picks


Choose the edge for the job
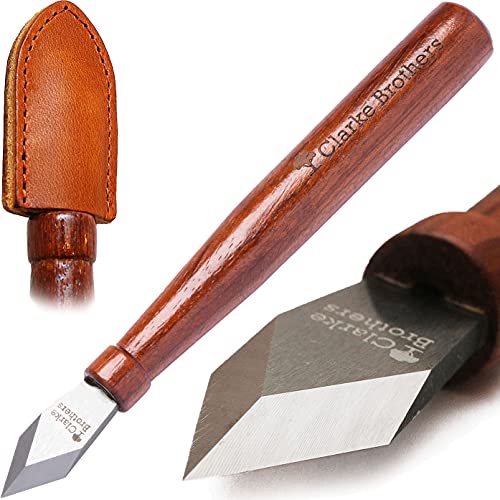
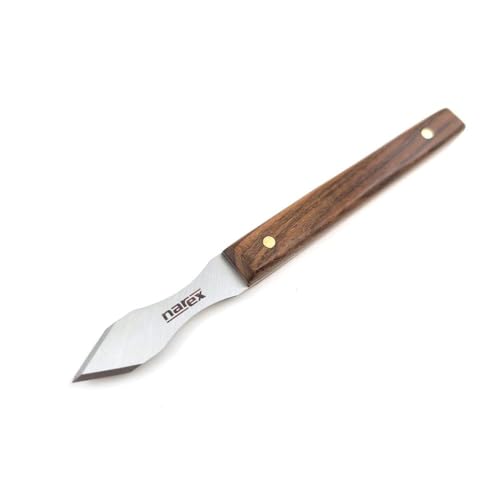
A marking knife makes a narrow, definite line that a chisel or saw can register against. For joinery on bare wood, a bevel-edged knife is a common choice: the bevel can sit against a square or straightedge while the flat side makes the line. A double-bevel knife is less fussy about which way it faces, but its geometry may not register as neatly against a guide.
On finished timber, sharpness matters, but so does the shape of the point. A needle-sharp point can puncture lacquer or veneer; a slightly less acute point is easier to control for a light surface score. Use only enough pressure to make a visible line. Several light passes are safer than one hard pass, which can skid at the start or end.
Knife types compared
| Type | Best use | Trade-off on a finish |
|---|---|---|
| Single-bevel marking knife | Accurate lines against a square; chisel registration | Needs consistent orientation; a hard pass may cut through the coating |
| Double-bevel marking knife | General layout and marking in either direction | Convenient, but less suited to registering a chisel against one flat face |
| Craft or utility knife | Occasional light scoring; easy blade replacement | Blade can flex or shift, and a broad handle can make close registration awkward |
| Mechanical pencil | Fittings, rough layout, or marks that must remain visible | Line is wider than a knife cut and may not guide a chisel accurately |
What to buy
For regular cabinet or furniture work, look for a slim handle, a blade that can be sharpened, and a point that is easy to control. A comfortable grip matters more than decorative materials. A knife that rolls off the bench or feels awkward in a pinch grip is less useful than a plain one that stays under control.
Compare single-bevel woodworking marking knives if you mostly mark against a square and use the line to register a chisel. For general layout, a double-bevel marking knife is a straightforward alternative. Check the blade dimensions and sharpening instructions rather than assuming a higher price means better accuracy.
If you mark finished trim only now and then, a sharp, replaceable-blade knife may be enough. A precision craft knife with replaceable blades is inexpensive and convenient, though you should check that the blade is firmly clamped before scoring. For marks that only need to be seen, a pencil or fine marker is often the better buy.
Marking without damaging the finish
First remove dust and check an offcut or hidden area with the same finish. Some coatings scratch easily; others are hard but brittle and chip at the edge of a cut. If the piece is valuable or the mark will remain exposed, avoid testing on its visible face. Use a low-tack tape only after checking that it will not lift the finish, especially on fresh paint or fragile lacquer.
Set a square or straightedge firmly, then draw the knife toward it with the bevel oriented consistently. Keep the blade nearly upright and make one light pass. If the line needs to guide a saw, a deeper score may help, but do not assume that cutting through the finish is harmless: it can leave a dark groove or a chipped edge. On veneered panels, keep the score particularly shallow; a deep cut can go through the thin veneer and expose the substrate.
When transferring a measurement, mark the waste side clearly. A fine knife line is precise, but it is easy to misread which side to remove. For a chisel cut, place the flat back of the chisel in the knife line and pare toward the waste. Repeatedly widening the line with the knife defeats its main advantage.
Common mistakes and fixes
Pressing too hard: The blade can skate, especially on a slick polyurethane finish. Make a light first pass, then deepen only if the task requires it. Using a blunt or burred edge: It drags and may tear the coating instead of scoring cleanly. Hone the edge, and remove any burr before marking.
Expecting a knife line to show well: A score can be difficult to see on dark paint or a glossy surface. Use a pencil for visibility, or place a short strip of tested low-tack tape where you can mark it. Forcing a knife against a loose guide: The guide can shift and produce a clean but misplaced line. Clamp it or hold it securely, and check the measurement before cutting.
Care and value
Wipe the blade after use, protect its point in a sheath, and sharpen it before it begins to drag. A small sharpening stone or fine diamond plate is usually sufficient; the important part is maintaining the bevel without rounding the point. For occasional home repairs, a replaceable-blade knife and pencil may cover most needs. Buy a dedicated marking knife when you make repeatable joinery cuts and want a narrow line that a chisel can register against.