What's inside
As an Amazon Associate I earn from qualifying purchases. This post may contain affiliate links at no extra cost to you.
Sections
Our Top Picks
Why use a marking gauge for repeated edge setouts
A marking gauge transfers a measurement from a board edge to a parallel line. Set it once, then run it along each workpiece with the fence held against the same reference edge. For repeated shelf dados, mortises, tenons or panel widths, that is generally faster and more consistent than measuring from the edge and drawing each line separately.
The gauge does not make a bad reference edge accurate. If the edge is bowed, rough or not square to the face, the marked line will follow its irregularities. Prepare a reliable edge first, and keep the fence pressed against it throughout the stroke. For repeated parts, check the first mark against your rule or story stick before setting out the rest.
As an Amazon Associate we earn from qualifying purchases at no extra cost to you.
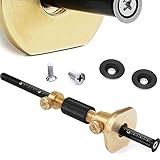

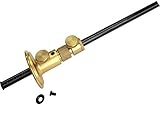

Choose the right gauge for the mark
A traditional pin gauge has a pointed steel spur. It scores a fine line that is easy to see in softwood and can guide a chisel or saw. A cutting gauge uses a small knife, which severs fibers cleanly and tends to leave a sharper line across the grain. It is a good choice for fine joinery, but its blade needs careful handling and occasional sharpening.
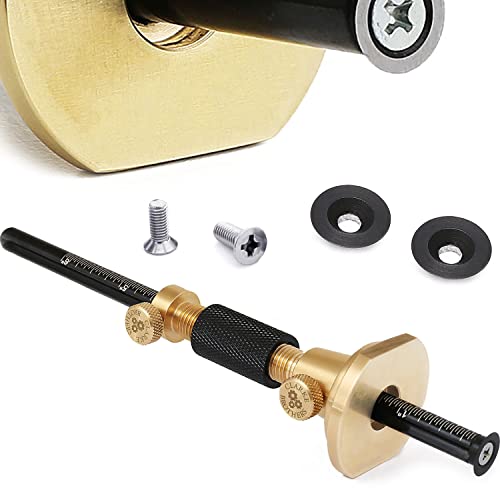
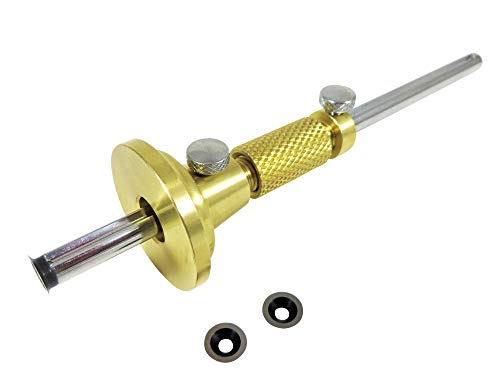
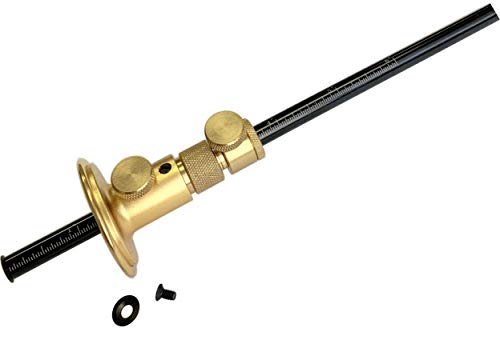
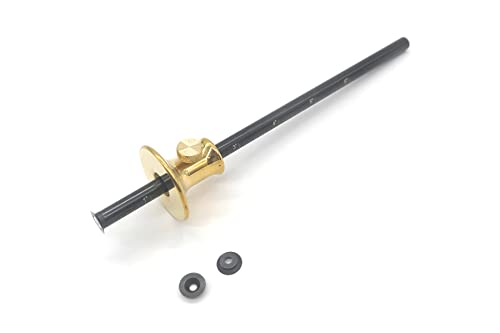
A wheel gauge uses a round cutter rather than a projecting pin or knife. It rolls smoothly and can score cleanly across the grain, though the wheel may need replacing or sharpening as it wears. For general site work and rougher stock, a simple pin gauge is often enough; for crisp layout on hardwood or veneered parts, a cutter is usually worth considering.
If a job needs two parallel lines, such as a tenon, a double-pin marking gauge can set both at once. Check that its pins are adjustable and lock firmly. A fixed-spacing gauge is less flexible, and may not match the tenon width you need.
Marking gauge types compared
| Type | Best suited to | Main trade-off | Watch for |
|---|---|---|---|
| Single-pin | General edge setouts, softwood, site work | Can tear across the grain | A sharp, straight spur and a fence that locks without shifting |
| Cutting | Clean lines in hardwood and fine joinery | Blade needs safe handling and maintenance | A blade that seats securely and can be sharpened or replaced |
| Wheel | Controlled scoring, including across the grain | Cutter may cost more to replace | A wheel that turns freely and does not wobble |
| Double-pin | Marking both sides of a tenon or strip | More parts to adjust; not as quick to set by eye | Both pins lock securely and can be set to the required spacing |
What matters when buying
Prioritize a fence that is broad enough to stay stable against the board and a stem that slides smoothly without rocking. The fence lock should clamp firmly with hand pressure; if it needs overtightening, or the stem creeps when you press the pin into scrap, repeated marks will drift. A metal fence or a well-fitted hardwood one can work. Fit and locking action matter more than material alone.
For repeated setouts, readable graduations are useful but not essential: you can set the gauge directly from a rule or a known sample. A positive, repeatable lock is more important than fine markings. A wheel marking gauge is a sensible upgrade if you want a clean, controlled cut, but it is not a substitute for checking the setting or keeping the cutter sharp.
There is no need to buy an expensive gauge for occasional framing or basic cabinet work. A basic pin gauge is fine if its fence stays square and its spur is sharp. Pay more for better adjustment and a cleaner cutter when you mark many parts, work in hardwood, or need lines that can guide precise paring.
Set and use the gauge consistently
Measure from the same reference edge on every piece. Set the gauge by placing its fence against that edge and bringing the pin or cutter to the target measurement on a rule. Lock the stem, then test the setting on a scrap offcut. For a batch, keep the rule and gauge in the same orientation and avoid resetting between boards unless you have a clear reason.
Hold the fence flat to the work and draw the gauge toward you in a controlled pass. Use light pressure first; one or two strokes are better than forcing the pin and letting it wander. A deep score is harder to erase if the setting is wrong. On hardwood, take a light first pass to establish the line, then deepen it with a second pass if needed.
For a line that must be visible from both faces, mark from the same edge and check the board thickness and edge condition. Do not flip the gauge around and assume the setting will behave identically: pin projection and fence contact can differ. If the line is critical, mark a test piece and measure the result before continuing.
Common mistakes and fixes
The usual cause of inconsistent lines is a fence that lifts or loses contact with the edge. Slow down at knots, rough spots and board ends, where it is easy to twist the gauge. If the edge is too rough to guide the fence, plane or joint it first, or use a straight reference batten. A gauge follows its reference; it cannot correct it.
A blunt pin crushes fibers and makes a fuzzy line, especially across end grain. Hone a cutting blade when it starts tearing rather than cutting, and replace a damaged wheel or spur if it will not hold a point. Before starting a batch, lock the gauge and press the cutter into scrap with the same pressure you expect to use. If the stem shifts, fix the lock or choose another gauge.
Finally, keep the cutter covered or retracted when the gauge is stored. A sharp knife is useful at the bench and a hazard in a tool bag. For repeated edge setouts, the best gauge is the one that stays locked, tracks the reference edge and makes a line suited to the cut that follows.