What's inside
As an Amazon Associate I earn from qualifying purchases. This post may contain affiliate links at no extra cost to you.
Trimming an exposed tenon end is a small job with little margin for error. The chisel has to remove the proud fibres without bruising the shoulder, digging below the surrounding surface, or leaving a ragged end grain patch. A general-purpose bench chisel can do it, but the best choice depends on access, how much material must come off, and whether the finished tenon will remain visible.
As an Amazon Associate we earn from qualifying purchases at no extra cost to you.


Sections
Our Top Picks
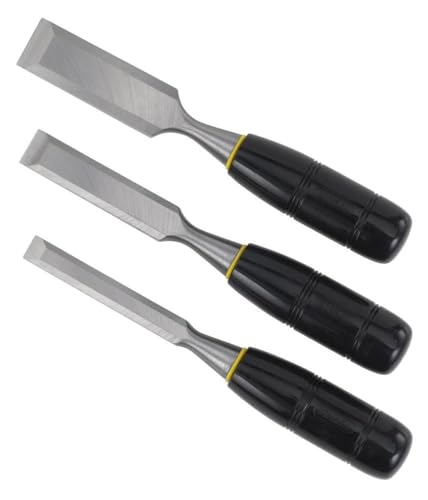
 IRWIN Tools Marples High-Impact Chisel Set3 Piece12.63 x 5.75 x 1.3 inches2.05 poundsCheck on Amazon

What makes a good tenon-trimming chisel?
Look for a sharp, moderately stiff blade with a back that can be registered against the shoulder or face of the work. A blade between 12 and 25 mm (1/2 to 1 inch) covers most furniture and light framing work. Narrower chisels are useful at corners, while a wider blade removes waste faster and is less likely to create a hollow.
Blade length matters more than many buyers expect. A long bench chisel gives better hand clearance when paring across a broad face, but a short-bladed chisel is easier to control in a tight mortise or between adjacent members. For trimming a tenon flush, a bevel-edge bench chisel is usually the safest all-round design. Its tapered sides can enter close corners without forcing the surrounding timber apart.
The edge should be ground around 25 degrees, with a small secondary bevel of roughly 27 to 30 degrees. That combination cuts cleanly but has enough support for end grain. A very thin, low-angle edge feels sharp initially but can fold or chip when it meets a hard growth ring, a knot, or a hidden nail fragment.
Chisel types worth considering
| Chisel type | Best use | Main advantage | Limitation |
|---|---|---|---|
| Bevel-edge bench chisel | General tenon trimming and paring | Good control and access into corners | Not ideal for heavy levering |
| Heavy-duty firmer chisel | Removing a large amount of waste | Stiffer blade and tougher edge | Thicker sides can mark the shoulder |
| Cranked-neck or swan-neck chisel | Flush trimming in restricted access | Keeps your hand and handle clear | Specialist, and less useful for general work |
| Wide paring chisel | Final flush cuts on visible joinery | Excellent slicing control | Too delicate for mallet work |
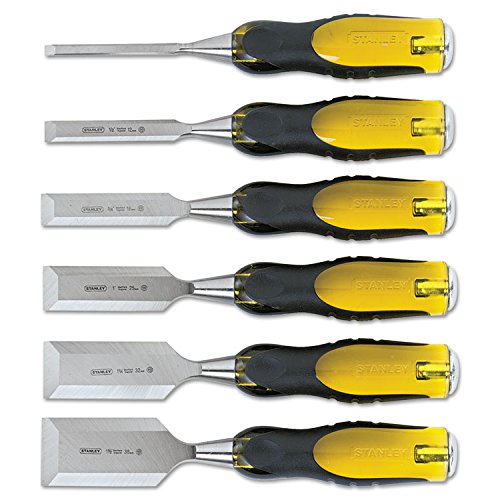
For most users, a bevel-edge bench chisel set is the sensible purchase. A set commonly includes 6, 12, 18, 25 and 32 mm sizes, allowing you to match the blade to the tenon width. You do not need a premium set for occasional repairs. A reasonably hardened mid-priced chisel, sharpened properly, will outperform an expensive chisel with a blunt edge.
When a heavier chisel is the better choice
If the tenon projects more than 3 to 6 mm past the shoulder, do not try to pare the whole amount away in one continuous cut. A heavy firmer chisel or mortise chisel can remove the bulk with light mallet taps, leaving about 1 mm for the final cuts. Search for a heavy-duty firmer wood chisel when this is regular work.
Keep this roughing chisel away from the finished shoulder. Stop 1 to 2 mm short, then change to a bevel-edge chisel. Mortise chisels are strong, but their thick rectangular sides are more likely to bruise the shoulder or bind in a narrow gap. They are useful for waste removal, not for the last visible pass.
Do not lever sideways with a thin bench chisel. That can twist the blade, damage the edge, or split the tenon beside the shoulder. If a shaving will not come off with moderate hand pressure, sharpen the tool or reduce the depth of cut.
A reliable method for trimming an exposed tenon
Start by marking the finished line with a sharp knife, not just a pencil. Scribe all four sides of the protruding tenon where possible. The knife line severs surface fibres and gives the chisel a shoulder to stop against. If the tenon must finish exactly flush, mark the surrounding face as well and check that it is genuinely flat; a high spot can make a correctly trimmed tenon look recessed.
Remove waste from the end toward the knife line. Work in cuts no deeper than 1 to 2 mm until you are close. On end grain, take short slicing cuts rather than driving straight down. Pare from both directions so the fibres meet in the middle. This reduces the chance of blowing out a corner or tearing a long splinter from the side of the tenon.
For the last pass, hold the chisel bevel down on the surrounding face when the geometry allows it. The bevel acts as a depth guide and helps prevent digging below flush. Use a wide blade for the final cut, but do not force a blade wider than the available surface. In a confined corner, a 12 mm chisel is easier to control than a 25 mm one.
When the tenon is wider than the chisel, overlap each cut slightly. Keep the blade moving across the grain instead of stopping abruptly at each boundary. A final light pass with a sharp paring chisel should produce a continuous surface, not a series of scallops.
Sharpness, steel, and maintenance
Sharpness is the deciding factor. A practical working edge should shave thin curls from end grain without excessive force. Hone at 1,000 grit to establish the edge, then 4,000 to 8,000 grit if you want a cleaner finish. Strop lightly, but do not round over the bevel by repeatedly rocking the blade.
Harder premium steels can hold an edge longer in abrasive or knotty timber, but they may take more time to sharpen and can chip if abused. Standard carbon or chrome-vanadium bench chisels are easier to maintain and usually fine for softwood, pine, spruce, and ordinary hardwood joinery. If you work on reclaimed timber, keep a cheap sacrificial chisel for areas where grit, paint, or hidden metal is likely.
Useful extras and buying advice
A small honing guide is helpful if you are still learning to maintain a consistent bevel. A chisel honing guide can hold a common bench chisel at the correct projection, although freehand honing is faster once learned. Keep a narrow screwdriver-style chisel out of the job; its handle and edge are not designed for controlled wood paring.
Protect the finished face with masking tape if the joinery is already assembled, and support the work firmly so it cannot move under the blade. Inspect the grain before each cut. If it runs toward the shoulder, reverse direction or take a shallower cut. Most damage comes from following the grain too far, using a blunt edge, or trying to remove all the excess in one blow.
For occasional tenon repairs, one good 18 or 20 mm bevel-edge chisel plus a basic sharpening setup is enough. Buy a wider chisel or a heavier roughing tool only when the size of your joinery demands it. The right width, a scored shoulder, and small controlled cuts matter more than the price printed on the handle.