What's inside
As an Amazon Associate I earn from qualifying purchases. This post may contain affiliate links at no extra cost to you.
Trimming timber to an uneven wall is a fitting job, not a reason to buy the biggest chisel you can find. You need a sharp edge for controlled paring, enough blade width to remove material efficiently, and a handle that can take light mallet blows if the timber is too thick to shave by hand. A set of three or four sound bench chisels will cover most scribed skirting, architrave and trim work.
As an Amazon Associate we earn from qualifying purchases at no extra cost to you.


Sections
Our Top Picks
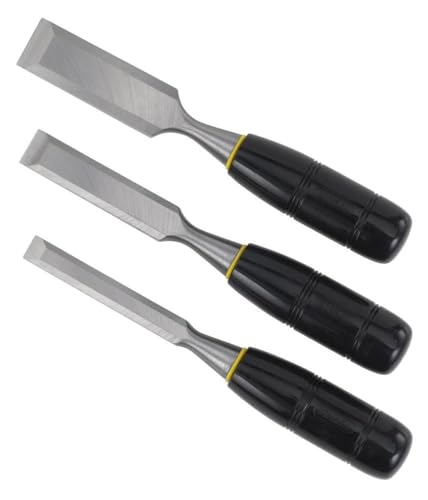
 IRWIN Tools Marples High-Impact Chisel Set3 Piece12.63 x 5.75 x 1.3 inches2.05 poundsCheck on Amazon

What the job actually needs
After scribing a board to the wall, mark the waste clearly and remove it in small passes. The wall may bow or dip, so the cut line is rarely straight in depth. A sharp chisel lets you follow that line without digging below it. The main risks are taking off too much, bruising the visible face, or levering against a thin edge until it splits.
For most trim, a 12 mm (½-inch) chisel is a useful all-round size, while a 19 mm (¾-inch) blade removes wider sections with fewer strokes. A narrow 6 mm (¼-inch) chisel helps at corners and tight returns. If buying only one, choose a 12 mm or 19 mm bench chisel, depending on the width of the waste. A wider blade is faster on broad, flat waste but less nimble around corners.
Which chisel type to buy
A standard bevel-edge bench chisel is the practical choice. Its tapered sides fit into corners and its blade is short enough for controlled paring. Avoid using a delicate carving chisel or a thin mortise chisel for general trimming: the former is easy to damage, and the latter is made for heavier work and may be awkward in shallow, narrow cuts.
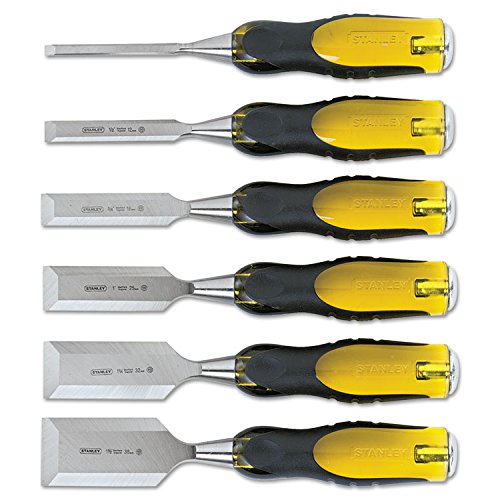
A basic set of bevel-edge chisels is often the best value if it includes useful sizes such as 6, 12, 19 and 25 mm. Check that the blades are straight and that the handles are secure. A bevel-edge bench chisel set is a reasonable starting point for occasional trim work. The cheapest sets may need sharpening before they cut well; that is acceptable if the steel holds an edge and you already have a sharpening method.
If you already own a 12 mm chisel, adding a wider one may be more useful than buying a full set. A 12 mm bevel-edge bench chisel suits general fitting, while a 19 mm blade is quicker for broad waste. Do not pay extra for a large premium set if the job is a one-off and a modest chisel can be sharpened properly.
Chisel choices at a glance
| Choice | Best use | Trade-off |
|---|---|---|
| 6 mm bevel-edge | Small corners and narrow cuts | Slow for broad waste; easy to steer off line |
| 12 mm bevel-edge | General trimming and paring | May take many passes on wide areas |
| 19–25 mm bevel-edge | Removing broad sections of waste | Less access in tight corners |
| Budget chisel set | Occasional work with several blade sizes | Often needs sharpening before use |
Handle, steel and edge quality
For hand pressure and light tapping, a comfortable plastic or composite handle is durable and easy to clean. A wooden handle can feel better in the hand, but inspect it for splits and a loose ferrule. If you expect repeated mallet use, choose a handle designed for striking rather than a fine paring chisel with a fragile end. Use a wooden or soft-faced mallet; a steel hammer can mushroom or split many chisel handles.
Steel matters less than edge preparation for this job. A chisel that arrives sharp and can be resharpened is more useful than one advertised with a particular steel grade but supplied with a blunt edge. Before buying, look for a flat back near the cutting edge and a blade that sits straight in the handle. A slight factory hollow or roughness can be corrected, but a badly twisted blade is a poor buy.
How to trim without ruining the fit
Secure the timber so it cannot rock, and protect the finished face with a scrap of board if the chisel might slip. Keep the waste side of the scribe line visible; do not pare right up to the line on the first pass. Take off 2–3 mm at a time, then test the fit. Near the final line, work in thin shavings with the bevel facing the waste so the edge is less likely to cut into the finished face.
For thicker waste, make a series of shallow cuts across the waste area before paring it away. This reduces the chance of a long split running past the scribe. Never twist a chisel sideways to pry out a stubborn chunk: that can chip the edge or tear the timber beyond the line. If the grain starts lifting ahead of the cut, reverse direction or work from the other end.
On paint-grade softwood, a mid-priced chisel is usually enough. For hardwood, or where the cut edge will be visible, sharpness and control matter more; keep the final cuts light and check the fit often. If you need to remove a lot of material, use a saw or plane to take down the bulk, then finish with the chisel. A chisel is a trimming tool, not an efficient substitute for removing a long, thick strip.
Sharpening and care
A dull edge crushes fibres and needs more force, which makes slips more likely. Hone the bevel and the back before the job, and touch up the edge as soon as it begins to burnish rather than slice the wood. A simple bench chisel sharpening stone is sufficient for routine upkeep; a basic honing guide can help beginners hold a consistent bevel, though it is not essential.
Wipe the blade dry after use and store it with the edge covered or separated from other tools. Chisels tossed loose into a toolbox lose their edges quickly. For a single timber-fitting job, a sharp 12 mm chisel and careful test fitting may be all you need. For regular site work, add a 6 mm and 19 mm blade, then replace or upgrade only the sizes that see frequent use.